**This is an old revision of the document!**
Installation and Operation of OpenOS
The purpose of this page of documentation is to focus on the installation and command line interface of OpenOS. This page begins with the assumption you have turned on a computer (of any tier) with the OpenOS floppy disk and an empty hard drive (of any tier) in the computer.
Installation
Having booted your computer you should be greeted with a motd (which stands for “Message of the Day”) and the shell prompt, /home/# .
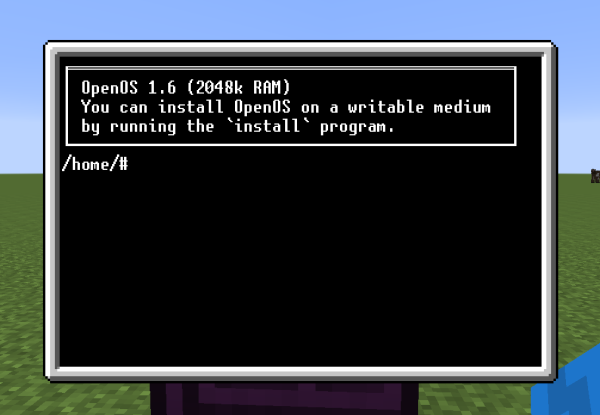
The computer at this point is usable and, assuming you have a hard drive in the case of the computer, you have writable storage space to create files. However you've only booted the system using the OpenOS floppy disk. In other words, your current directory is read-only; i.e. you cannot create or modify files in your current directory.
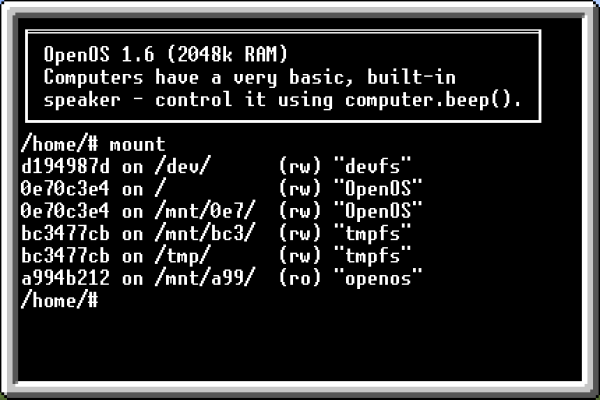
To list what filesystems are available, run mount
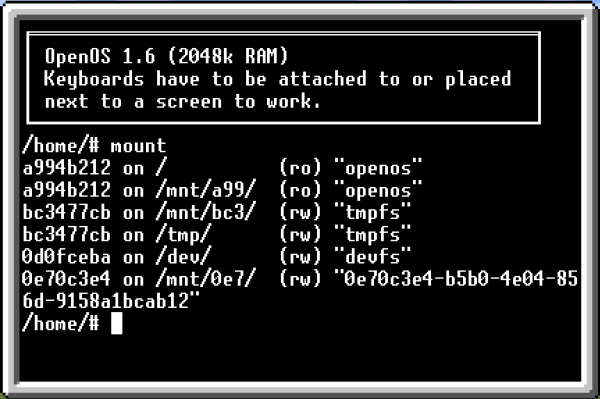
The output of mount has 4 important columns.
- filesystem address
First the filesystem component address, a unique 128 bit value whose first 32 bits are shown in hexadecimal.
- mount point
The second column, following the word “on”, informs the user where in the directory tree the filesystem is mounted. This is also known as the mount point. The filesystem mounted on “/” is also known as the “rootfs” (or root filesystem). The rootfs is the mount point of the filesystem that booted the computer. If you have installed an operating system you'll find its system files in the directory tree below
/. - read/write access
The third column shows either “(ro)”, which stands for “read-only”, or “(rw)”, which stands for “read/write”. OpenOS only supports these two access permissions and they are filesystem wide (as opposed to more modern filesystems that have separate permissions per directory and per file even under the same filesystem mount point). In this image we see that the rootfs is mounted read-only. This is because I have booted the computer with an OpenOS floppy disk, and loot floppy disks are read-only filesystems.
In case the name of the access (ro vs rw) was not clear, you cannot modify or create files in a filesystem mounted read-only. - label
The last column displays the filesystem's label or the filesystem's component address in the case it has no label. Loot disks always have their loot disk name as the filesystem label. You may notice that the filesystem mounted on
/mnt/0e7/in my example has a very long “label”. This is because I am using a brand new tier 1 hard drive which doesn't have a label yet and thus its address is displayed which causes the terminal to wrap the text.
You may also notice that a few of the filesystems are mounted multiple times. The behavior of OpenOS is to automatically mount filesystems in the /mnt directory, with the first 3 or more unique letters of its address as the directory name. Some components get a special mount location, such as the filesystem that booted the system. In this case, the floppy disk on /mnt/bc3/ is the boot filesystem, and thus is the rootfs (on /). To help make the listing more readable, mount sorts the listing by address.
We learn from this image that the rootfs is read-only. This reminds me that I have booted from a loot disk, and that I have not yet installed OpenOS to my hard drive. The computer would fail to boot were I to remove the floppy.
All I need to do is run install
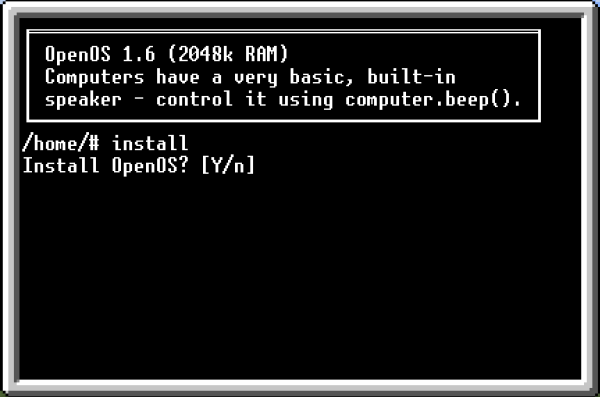
You can enter y or just press ENTER (the uppercase “Y” in the [Y/n] notation informs you that “Y” is the default answer if an empty line is entered). After you confirm the install, you'll see a verbose listing of all the files being copied to your hard drive. When the installation is complete install confirms you are ready to reboot the system. When the system reboots, your rootfs will be the hard drive you just installed OpenOS to.
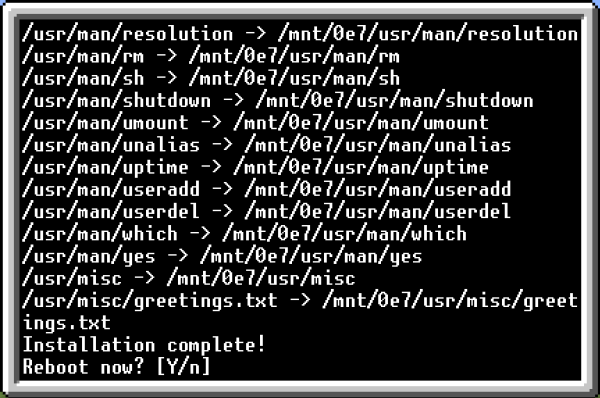
Running mount again will show that rootfs is now (rw).
Install Program
In various places in the documentation we refer to running a command in shell called install. This is referring to a versatile program that comes as part of the OpenOS software package and installation.
To understand more about command line options for install, it is recommended to read its man pages by running man install, or by reading the man page online here.
install takes the following actions
- Step One: Scan for Software to Install
First it scans for candidate source filesystems. These are filesystems, such as loot disks, that can be used as a software package for installation. If more than one candidate source filesystem is found, it prompts the user, asking
What do you want to install?Followed by a list of disks it found that can be installed.
- Step Two: Scan for Hard Drives
The next step is a scan for candidate target filesystems. These are filesystems, such as hard drives, that can be the target of an install. In the example of installing OpenOS from a loot disk to the hard drive, the hard drive is the target filesystem. Like candidate sources, if
installfinds multiple candidate targets, it asks the user to select one:Where do you want to install to?Followed by a list of disks it found that can be installed to.
- Step Three: Installation
Before continuing with the install, the user is asked for confirmation to install
Install OpenOS to /mnt/e03/? [Y/n]Confirming this step will copy the files from the (e.g.) loot disk to the target filesystem. Software installs may have an optional
.propfile which can tellinstallwhether or not to set the default filesystem the computer should boot to, what label if any to set, and whether the system should reboot when installation is complete. There is also the option for software disks to provide a fully custom install experience by creating an.installfile at the root of the disk's filesystem. After confirming the source and target,installwill invoke.installif it exists in the source filesystem. - Optional Arguments
It is recommend to review the
installman page for greater details and a full list of supported arguments. But I considered it interesting to mention here that the label of the loot disk can be used as a command line argument for install – which will refine the candidate search to disks matching that label.install openosNote that the argument is case insensitive. In a scenario where there would have been multiple software disks available to install, specifying the label in this manner may allow
installto reduce the candidate selection without prompting the user.
Command Line Interface
Installing Additional Software
See Loot Disks,